Ezoic
If you haven't been able to migrate your site automatically, you should be able to try an alternative method by following the manual process below:
1. Go to the "Wordpress hosting dashboard" located in the settings section of Pubdash.
2. Choose "create a blank site."
3. After the blank site is created, click the preview button to verify that you are able to see a blank site.
To complete this step, you'll need to be able to access your WordPress files. Typically, this is done through SFTP credentials, but some previous hosts may offer a tool or feature that you can use instead. If you're unsure how to access your WordPress files, we recommend reaching out to your previous hosting provider for assistance.
The aim is to transfer your WordPress files from your old host to your computer. To make the process easier, we suggest creating a folder and moving all of your WordPress files into it.
1. Access the WordPress SFTP credentials from the WordPress Hosting section in Pubdash.
2. Use a program such as Cyberduck or Filezilla to log in with your SFTP credentials.
3. Navigate to the folder that you created in the previous step.
4. Move the WordPress files from your folder to the HTML folder in Cyberduck or Filezilla.
5. If prompted with a pop-up asking if you want to replace the existing files, choose to replace all of them.
6. Depending on the size of the files and the speed of your internet connection, the file transfer may take some time to complete.
For this step, you have a couple of options.
- Downloading and using MySQL Workbench
- Use a plugin such as All-in-One WP Migration
- PHPMyAdmin
The easiest options will either be the plugin or PHPMyAdmin.
Using PHPMyAdmin
1. Select the export tab at the top.
2. Hit go and it should start downloading the MySQL DumpFile
3. Verify by checking that the file has a .sql at the end of it.
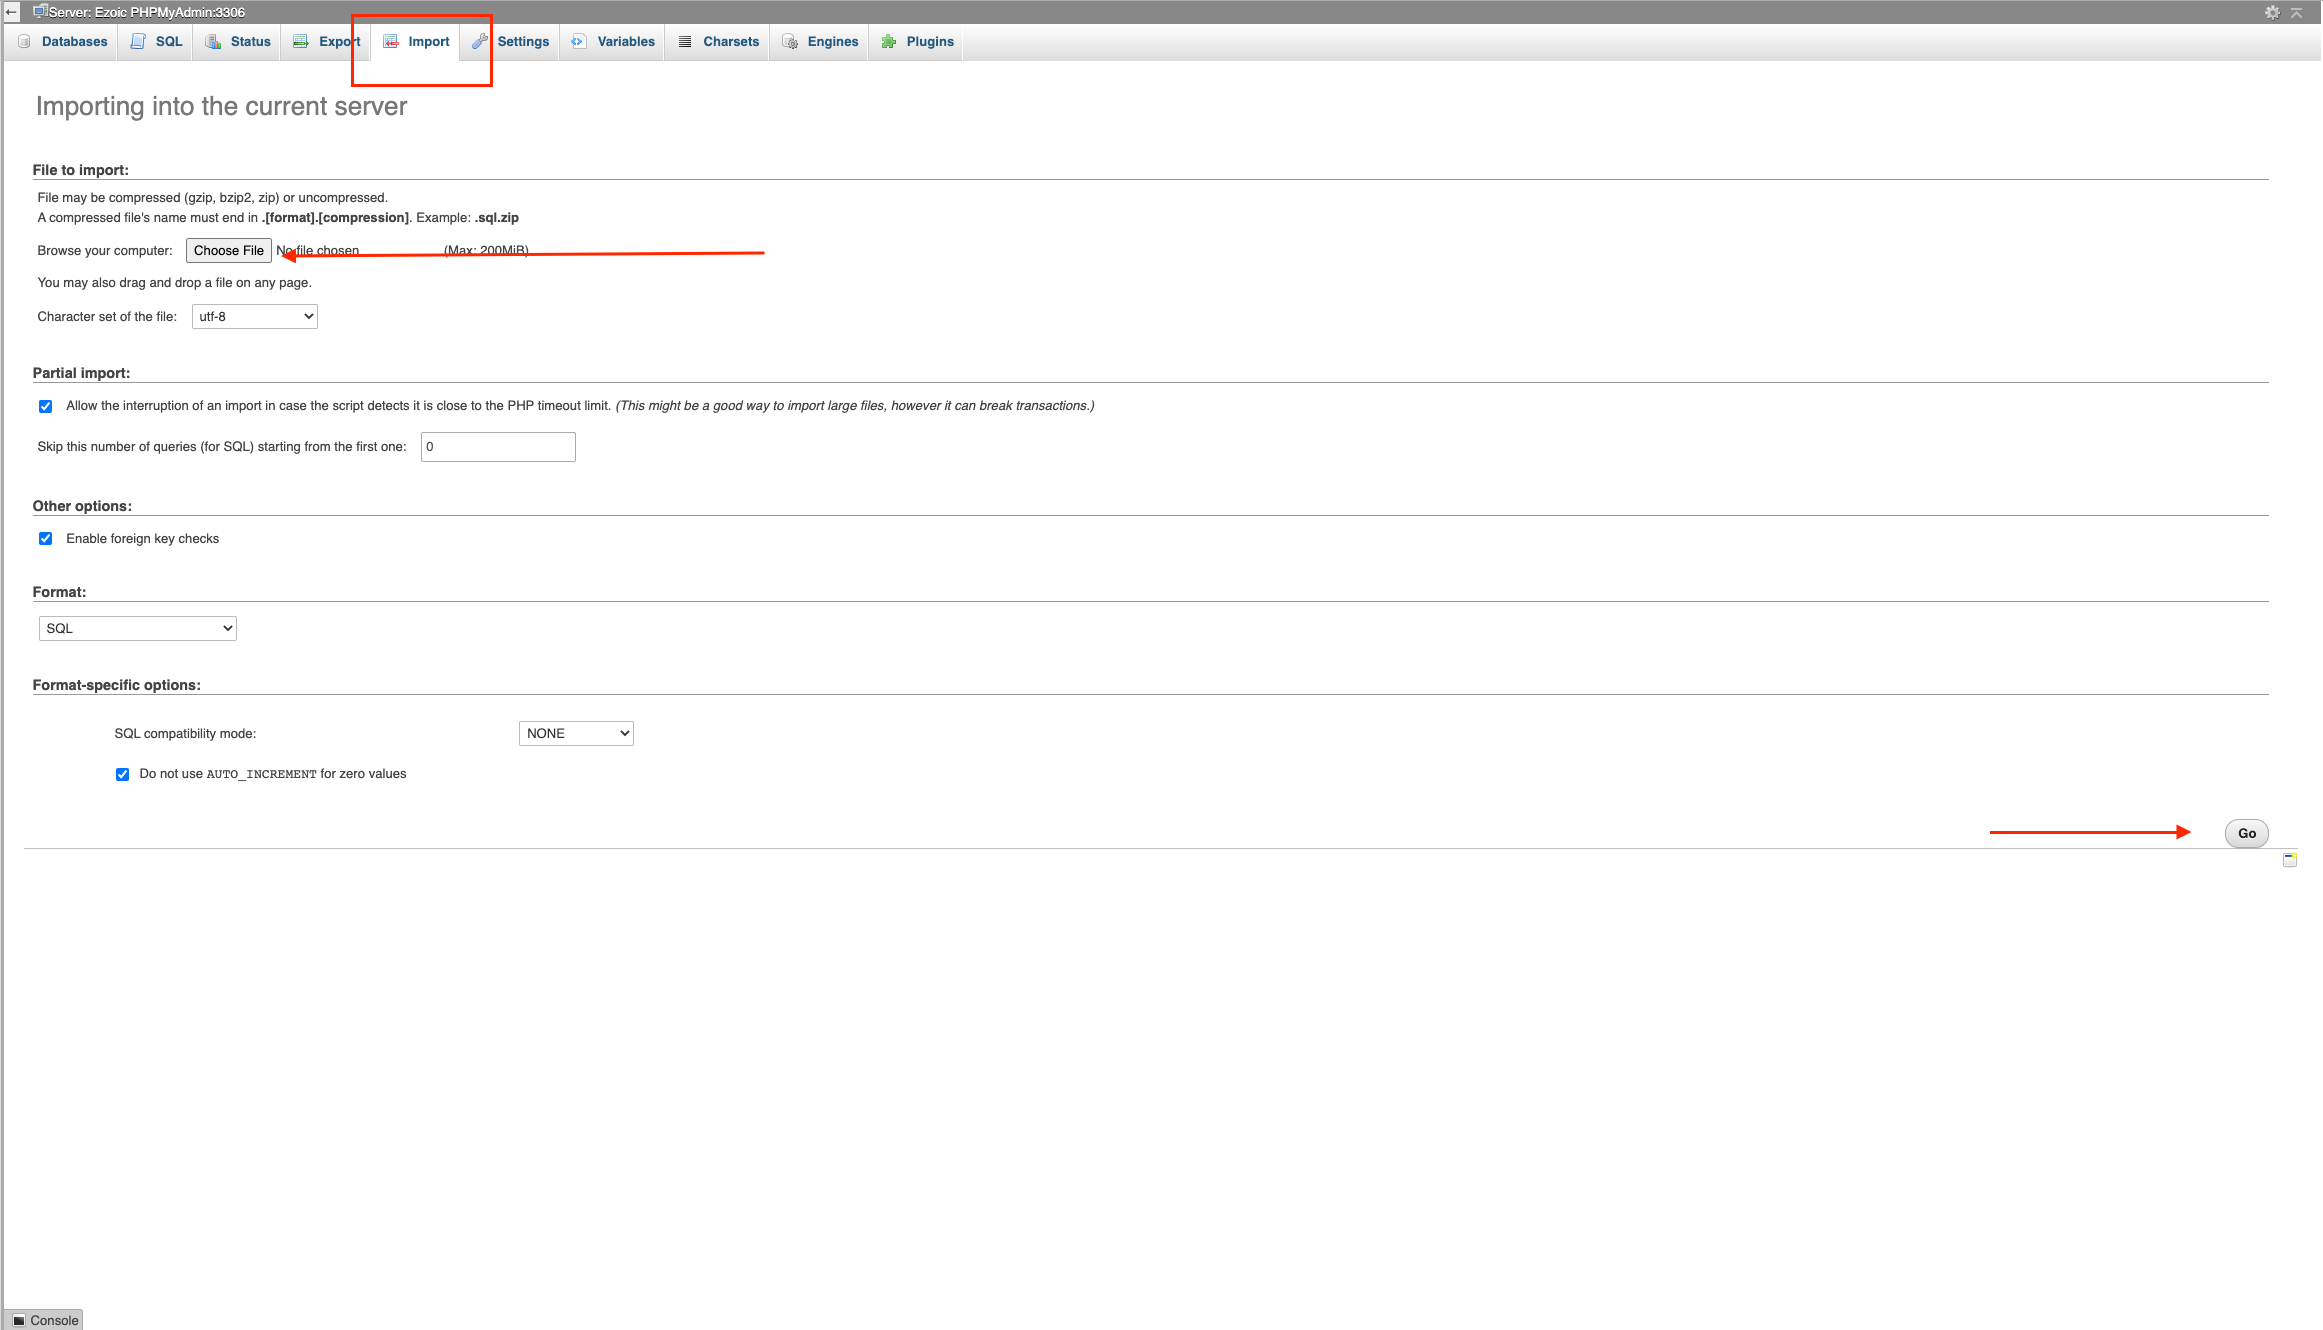
1. Login to phpmyadmin from the wordpress dashboard in pubdash
2. Click the Import Tab
3. Click Choose File
4. Choose the Dumpfile.sql that was created earlier
After this is completed, the process should be done and your site will be transferred to Ezoic's hosting.
Related articles: